Time to Complete: ~1 hours
Final Length: Customizable
2 pairs of pliers
Awl
Clasp of your choice
16ga 7.0mm ID - 1 rings
18ga 3.5mm ID - 30 rings per star
18ga 3.0mm ID - 5 _2 to attach clasp
14ga 5.0mm ID - 4 per inch
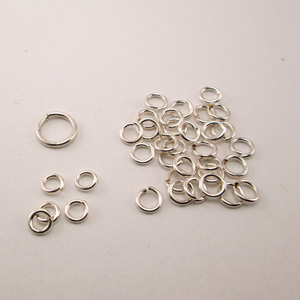
STEP 1: Materials
This project uses:
16ga 7.0mm ID jump ring [large]
18ga 3.5mm ID jump ring [medium]
18ga 3.0mm ID jump ring [small]
Optional ring to connect to bracelet and 14ga 5.0mm ID jump rings to make a Tiffany style chain.
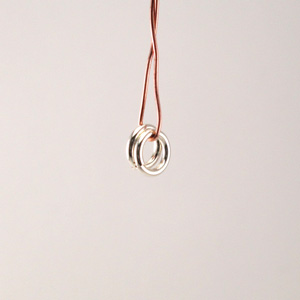
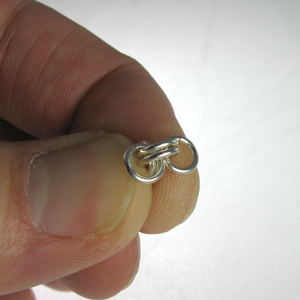
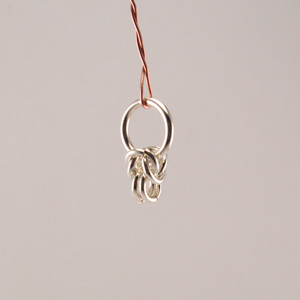
STEP 2: The Point
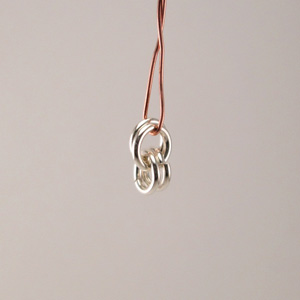
Close (2) Medium jump rings and attach a piece of scrap wire are a holder.
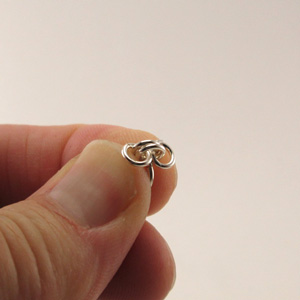
STEP 3: Add Two
Attach 2 new jump rings.
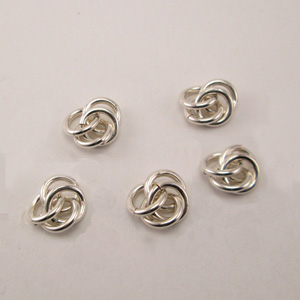
STEP 4: Prepare 5 Points
Create a total of (5) 2 to 2 ring chains and set them aside.
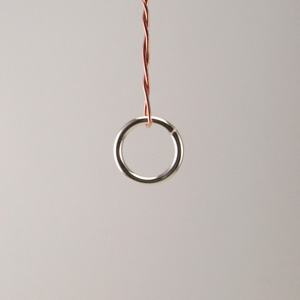
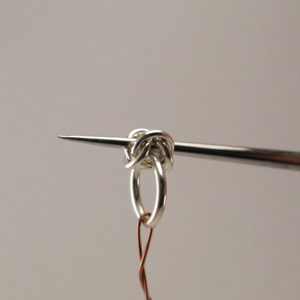
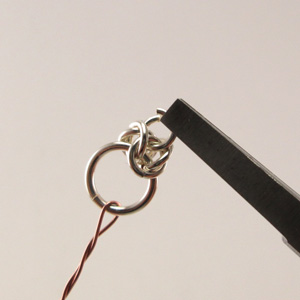
STEP 5: The Center
Close a LARGE jump ring and attach a small piece of scrap wire to use as a handle.
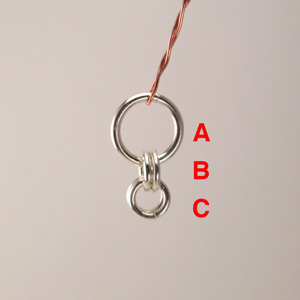
STEP 6: Add a Point
Open up the LARGE ring [A] and attach one of the "points" [B & C] you made earlier in steps 2 thru 4.
STEP 7: The Flip
STEP 7: The Flip Grip the large ring between your thumb and forefinger. Turn your hand so that you are pointing the starter at the ceiling. (C is now on top). Flip pair C open like the petals of a flower.
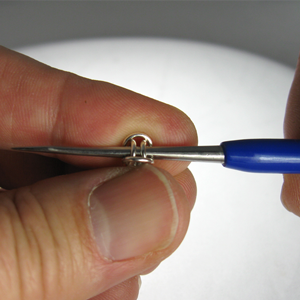
STEP 8: The Separation
Using an Awl or pointed tool, separate the rings in the center.
STEP 9: The Push
Push the awl into the chain. Your goal is to grab the bottom part of rings [C] and pull them up through [B]. The link should appear like the photo.

STEP 10: The Push - Review
Should look like this.
STEP 11: The Hold
Grasp the chain firmly. Prepare to remove the awl.
STEP 12: The Hold -Review
As you remove the Awl, maintain a firm pressure. This will keep the chain from collapsing while you pick up and add your next set of jump rings.
The Red shows the placement of the next ring.
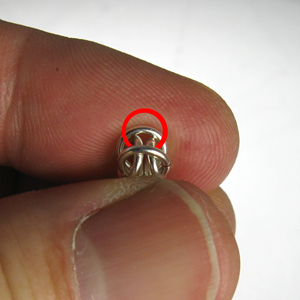
STEP 13: Insert New Pair
Insert a new MEDIUM jump ring onto the spot that was occupied by the awl. This may feel awkward at first, but you will quickly become proficient. I use a sweeping motion like setting a hook.
STEP 14: Add a Second Jump Ring
Don’t put down the chain just yet. Reinsert the awl to hold your spot if needed. Open an new MEDIUM jump ring and place it in the same spot as you did in STEP 13.

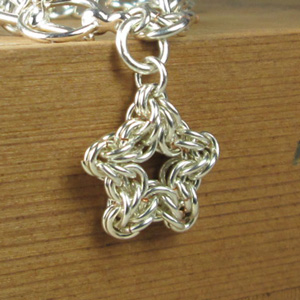
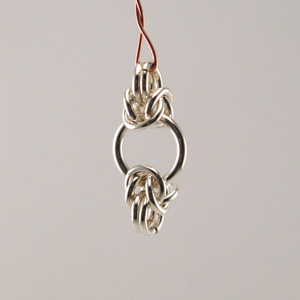
STEP 15: One Star Point Done
A single point is complete. Four More to Go!
STEP 16: Second Start Point
Pick up another point that you built earlier. Open the LARGE ring and slide on the 2-2 chain piece.

STEP 17: Repeat the Steps
Repeat steps 7 thru 14 to complete the star point
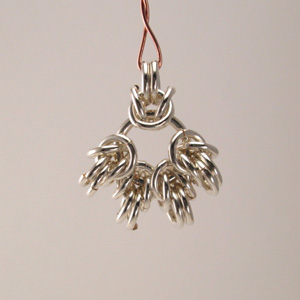
STEP 18: Sad Starfish
Repeat the above processes until you have all five points. Looks like a sad starfish.
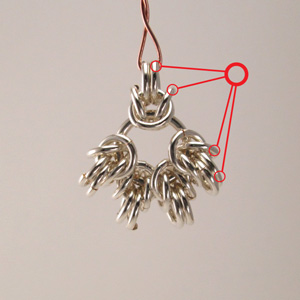
STEP 19: Link the Points
Connect the points together with a SMALL jump ring. Identify the top and middle jump ring from the left side of one point with the top and middle jump ring from right side of the adjacent point.
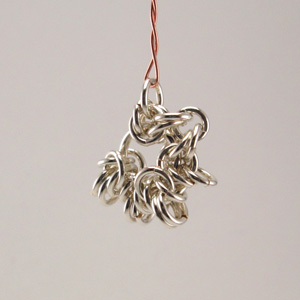
STEP 20: Insert the End Point Jump Ring
This will be a tight fit. You may have to work the ring back and forth to connect all four rings.
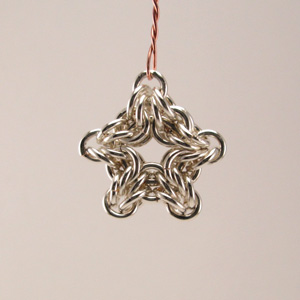
STEP 21: Repeat for all 5 Endpoint Jump Rings
You may want to double up on the SMALL jump ring endpoints. This creates a stiffer link in most metals.
In this example I used Silver Filled jump rings. They are slightly thicker than most metals, so only one works.
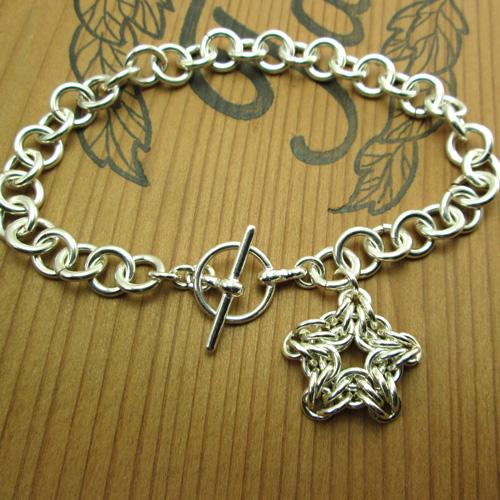
STEP 22: Add A Connector
Us a ring to connect the star to earrings, make a pendant for a chain, or a charm from a bracelet.
If you purchased a kit, use the 14ga 5.0mm ID jump rings to make a simple 1 to 1 chain.