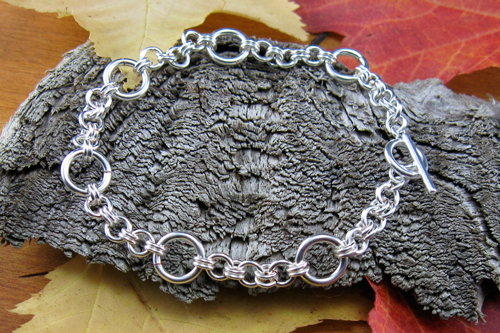
Time to Complete: 1-2 hours
Final Length: Customizable
2 pairs of pliers
Clasp of your choice
18ga 3.0 - 8 per inch
20ga 2.5 - 8 per inch
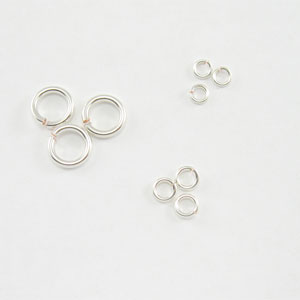
STEP 1: Materials
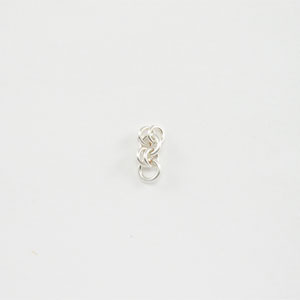
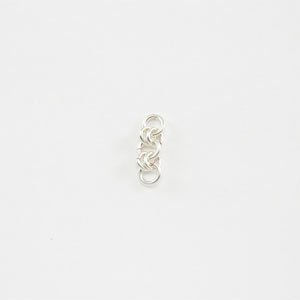
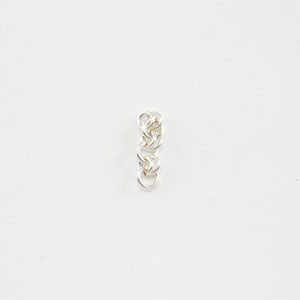
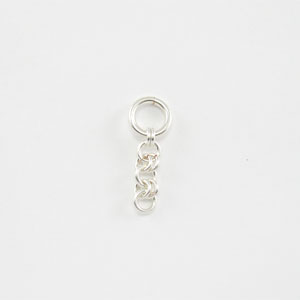
We are going to start this project making a simple 2 - 1 - 2 - 1 chain. It is slightly more difficult because we are changing up sizes throughout the project. [Change up the sizes from this pattern to create different looks]
For this example, use 14ga 6.0mm ID - large jump ring, 18ga 3.0mm ID - medium jump ring, 20ga 2.5mm ID small jump ring
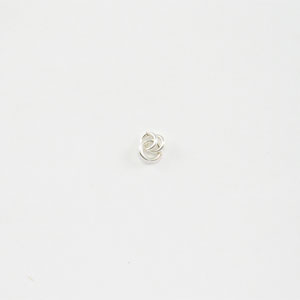
STEP 2: Start with a Medium Jump Ring
This is a classic 1-2-1-2 Chain. The aspect that makes this a little more difficult is the ring changes.
Close one medium (18ga 3.0mm ID) jump ring.

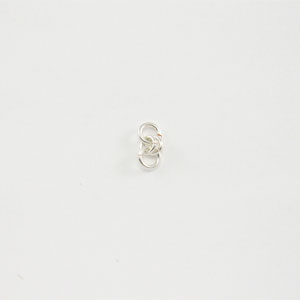
STEP 3: Attach 2 Small Jump Rings
Attach two (2) small rings (20ga 2.5mm ID) jump rings to the closed medium ring.
STEP 4: Add Medium Jump Ring
Open a medium ring and attach it to the two existing small rings.
STEP 5: Attach 2 More Small Jump Rings
Open two (2) small rings to the new medium ring.
STEP 6: Add Medium Ring
Open a medium ring and attach it to the two small rings.
STEP 7: Attach 2 More Small Rings
Open two (2) small rings to the new medium rings.
STEP 8: Add Large Ring
Open a new large 14ga 6.0mm ring to the (2) small rings.
STEP 9: Attach 2 More Small Rings
Open two (2) small rings to the new large ring.

STEP 10: Continue Pattern
Continue the 1-2-1-2 pattern until you reach your desired length.
Reminder of the pattern Med•Sm•Med•Sm•Med•Sm•Lg

STEP 11: Attach Clasp
Use small rings to attach clasp. You can use a single or double ring depending on the clasp.
