Time to Complete: <1 hour
Final Length: 3 inches
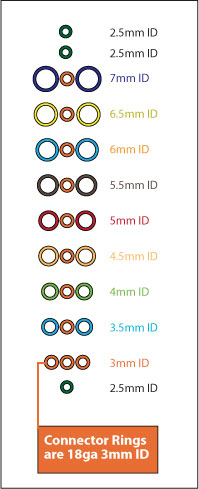
18ga 6.5mm ID (4)
18ga 6.0mm ID (4)
18ga 5.5mm ID (4)
18ga 5.0mm ID (4)
18ga 4.5mm ID (4)
18ga 4.0mm ID (4)
18ga 3.5mm ID (4)
18ga 3.0mm ID (22)
18ga 2.5mm ID (6)
Ring Size Chart at the bottom of instruction set.
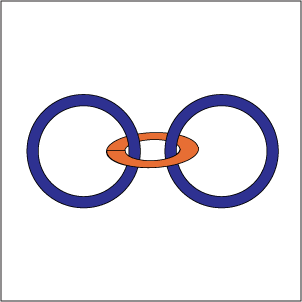
STEP 1: Start at the Top
Start by closing all of the jump rings except for the 18ga 3.0mm ID rings referred to as the 'connector rings'.
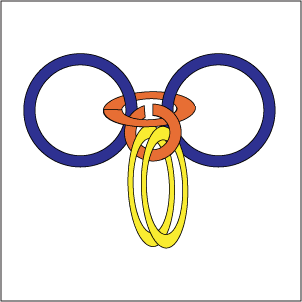
Using pliers, close the two largest jump rings (7mm ID). Open a "connector" ring [3mm ID] and connect the two 7mm rings together.
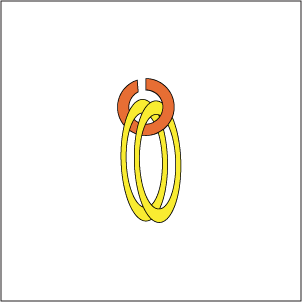
STEP 2: Link Two
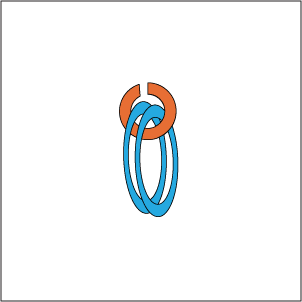
Open a 3mm ID jump ring "connector " and place two 6.5mm ID jump rings.
STEP 3: Link Connector
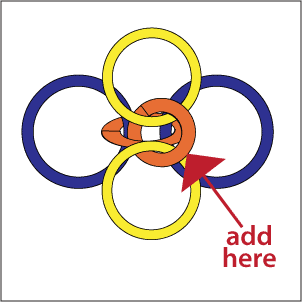
With the connector ring still open, attach it to the connector ring(3mm ID) of the previous pair.
STEP 4: Next Row
Open an new connector ring, attach the next size ring on the list (6mm).
STEP 5: Link to Previous
With the connector ring still open, attach it to the connector ring of the previous pair.
STEP 6: Add the Next Row
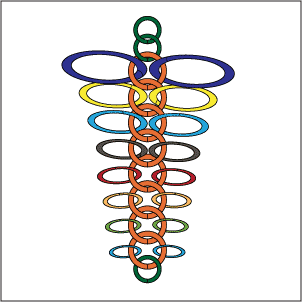
The connector rings will form a chain which each outer pair will hang. Continue the pattern until you reach the last pair.

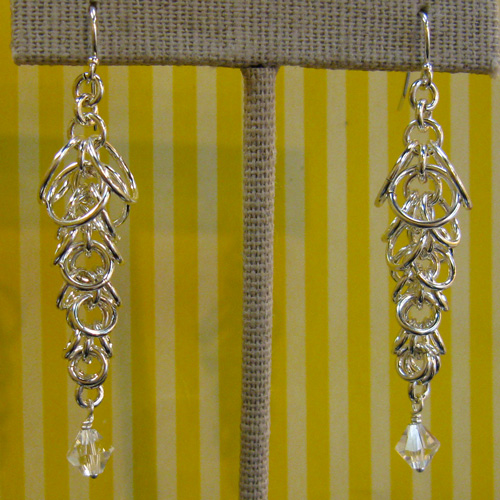
STEP 7: Finish and Connect Earwire
Finish the chain by adding a 2.5mm ring to the bottom to attach a bead and (2) 2.5mm rings to the top to attach the earring finding.
Ring Size Chart