Time to Complete: 2-3 hours
Final Length: Customizable
2 pairs of pliers
Awl
Clasp of your choice
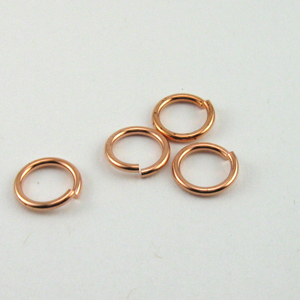
14ga 8.5mm ID
16ga 7.0mm ID
18ga 5.5mm ID- 24 per inch
20ga 4.5mm ID
STEP 1: Materials
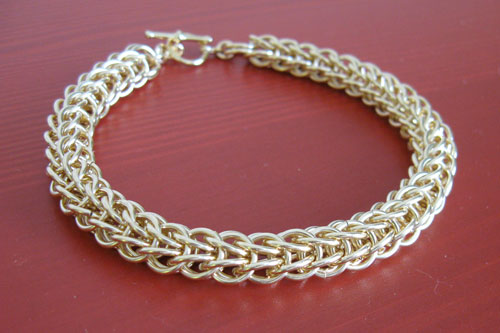
The Full Persian is a easy chain to make, but is a challenge to teach and share in print. We hope to do a good job here. With an A.R. of 5.5 you can use any size jump ring at that AR ID value or larger. If you want to use 18ga, choose an I.D. of 5.5mm or larger. The smallest I.D. per gauge are shown above.
This pattern repeats every four rings. It may help to open groups of four jump rings for your convenience.
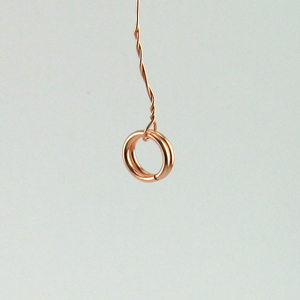
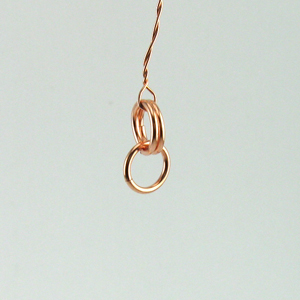
STEP 2: The Starter - Make a Handle
Close two jump rings and secure them with a piece of scrap wire.
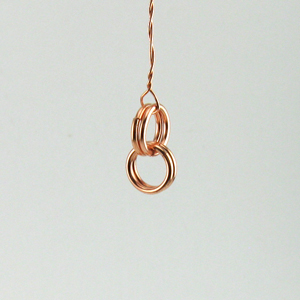
STEP 3: Add a New Jump Ring
Open a new jump ring and attach it to the two rings above.
STEP 4: Add New Ring
Open a new jump ring and attach it to the two above. You should have a 2 in 2 chain.
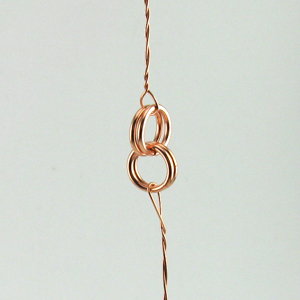
STEP 5: Add a second handle
Using a piece of scrap make a handle by attaching it to the bottom two jump rings.
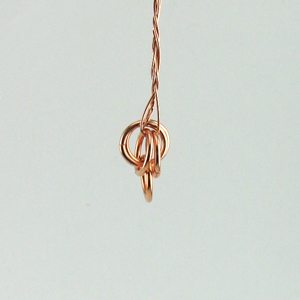
STEP 6: The Fold
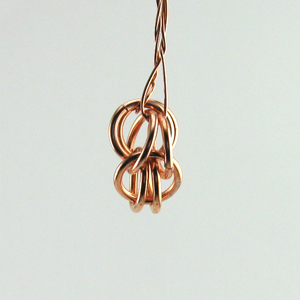
Bring the two wire handles together like you are closing a book. Twist the two wire handles together to form a single handle.

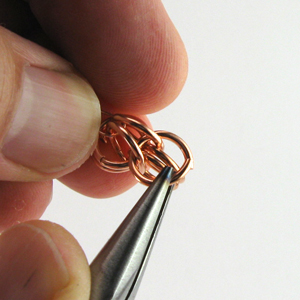
STEP 7: Split and Add
Split the jump rings that appear to be outside the group. Open a new jump ring and add it the two jump rings that appear to be inside the group.
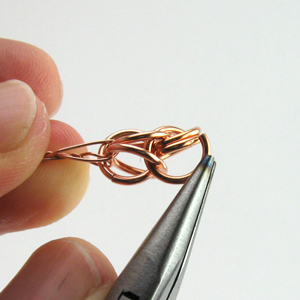
STEP 8: Add a New Jump Ring
As you did in Step 7, open a new ring and attach it two both inner rings. It should sit right next to the ring you just added.
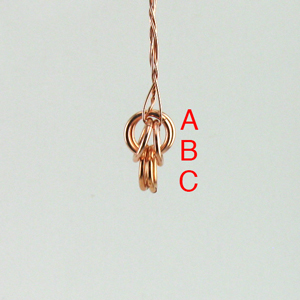
Review Pair C should be attached to pair A, as they split pair B
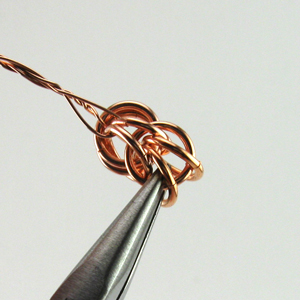
STEP 9: Look for the V - Add a New Ring
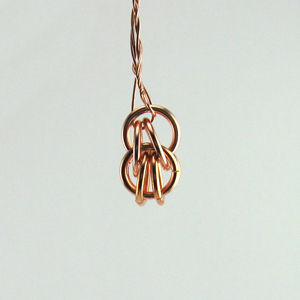
Grasp the handles and chain as shown. Open a new jump ring and insert it thru the two middle jump rings that form a upside down V. Don't close the ring just yet.
STEP 10: Close inside C
Before you close the jump ring, allow it to go inside pair of rings at then end. Then close the ring.
STEP 11: Check the V
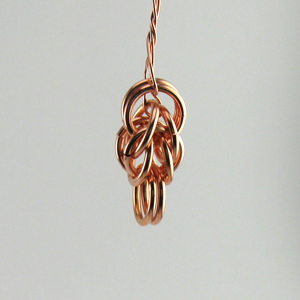
If you did this step correctly the new ring should be inside the last pair and an upside-down V pattern will emerge.
STEP 12: Check it Again
It is still a little unorganized at this point. You should have one ring on the front, get ready to add the other ring.
STEP 13: Flip it Over
Go back to Step 9 and repeat.
Flip the chain over and add a new ring on the other side. Insert the new ring thru the rings that form the “V” and close together inside C.
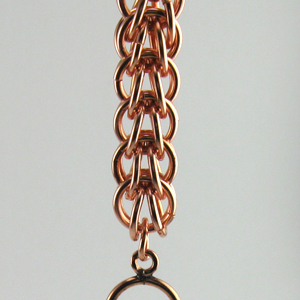
STEP 14: Pattern Starts Again
Look for the very last two rings on the chain. Open a new jump ring, separate the last two rings, attach two rings to the inside pair
STEP 15: Repeat 9-14
Repeat steps 9 thru 14. Your chain should keep the V or chevron pattern. To add a clasp, use a smaller jump ring to link the clasp to the chain.