Time to Complete: 2-3 hours
Final Length: Customizable
2 pairs of pliers
Clasp of your choice
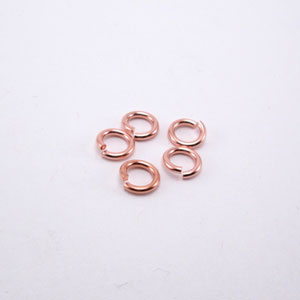
18ga 4.0 - 20 rings per inch
16ga 5.0 - 15 per inch
14ga 6.0 - 12 per inch
STEP 1: Materials
In this example we will use 16ga 4.5mm ID. You can create this chain with other sizes. Use the A.R. guide (value 3.8 to 3.9) to help estimate ring size.
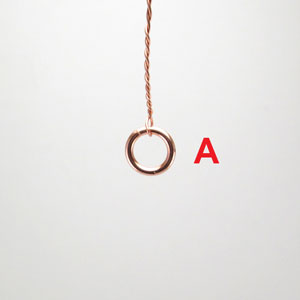
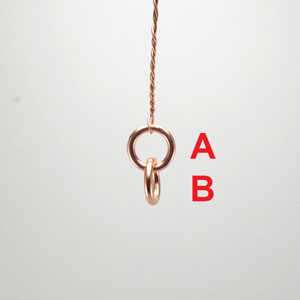
STEP 2: The Starter - Ring
Close a new jump ring marked A
I find that attaching a piece of scrap wire to the beginning of the chain makes it easier to manage. This step is not required.
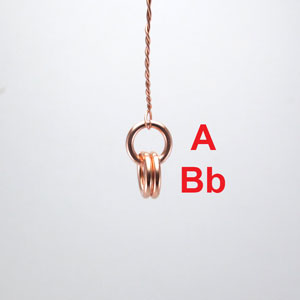
STEP 3: Add a New Jump Ring
Open a new jump ring [B] and attach it to jump ring [A]
STEP 4: Add New Ring
Open a new jump ring [b] and attach it to jump ring [A]. Jump Ring [B] and [b] should be connected to A, side by side.
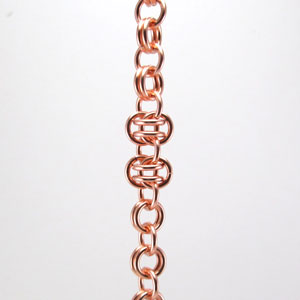
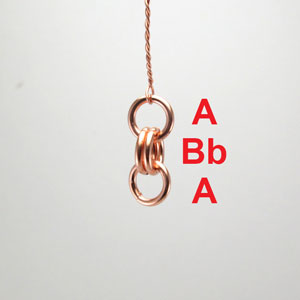
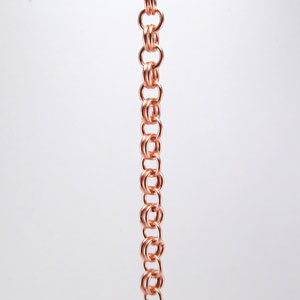
STEP 5: 1-2-1 Chain
Open a new jump ring [A] and attach it to both jump rings [B & b]
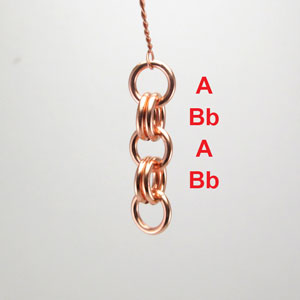
STEP 6: Repeat the Chain
Add rings [B] and [b] to [A] and continue the pattern.
You should have a chain pattern that is 1 - 2 - 1 - 2
STEP 7: Continue to Desired Length
Repeat the pattern until the chain is slightly longer than your target length.
STEP 8: Prepare to Insert Rings into Pattern
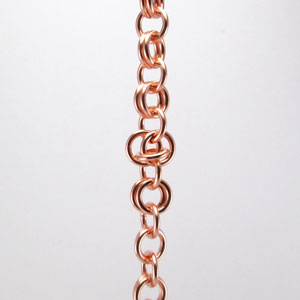
You can start anywhere along the chain. I like the middle so there is plenty of chain to hold on to and stabilize the work. Identify the double ring [B][b].
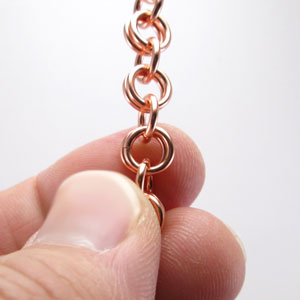
STEP 9: Separate the Double Ring
Using your thumb and finger, slide the double ring apart. Notice it creates an ellipse in the center.
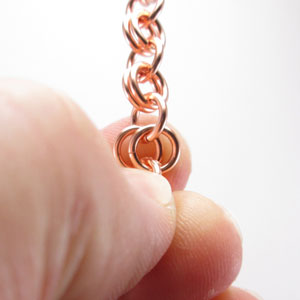
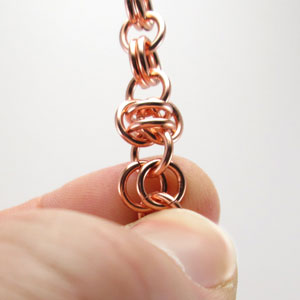
STEP 10: Add New Jump Ring
Open a new jump ring and push it through the double ring where the rings intersect.
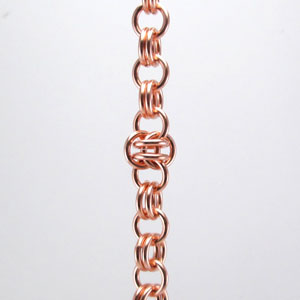
STEP 11: Looks Like This
Notice that the new ring surrounds where the double ring overlaps.
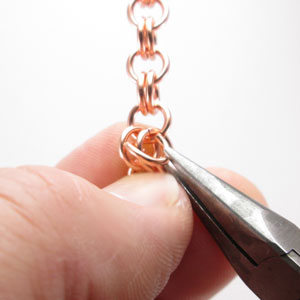
STEP 12: Open a New Ring and Repeat
Open a new jump ring and place it right next to the jump ring added in steps 8-10.
STEP 13: Repeat Steps 8-13
Identify the next set of double rings. Slide the rings apart and add a new ring at the intersection.
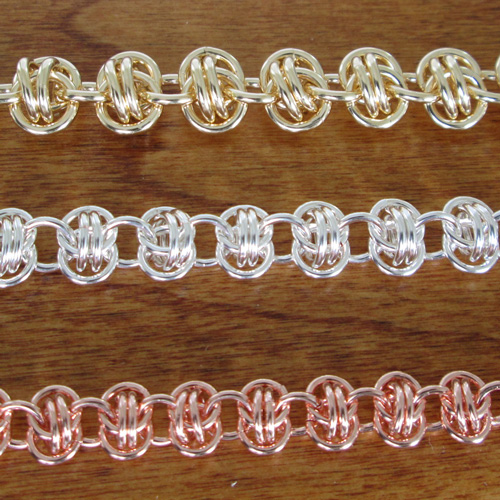
STEP 14: Should Look Like This
Continue filling out the chain by adding two rings to each intersection. End with a single ring and clasp.